

How To Enable Ray Tracing In Minecraft Java
Ray tracing is the latest generation of rendering technology to push real-fourth dimension graphics closer to photorealism. It takes loftier-end hardware to make information technology work well, but if you've got the PC to handle it, in that location's nothing else like its visual flair.
Even Minecraft, known for its retro-style blocky 3D worlds, has not escaped the ray tracing glow-upwardly. Information technology's not enabled past default, only you're in for a magical fourth dimension if yous have the right hardware.
What Does Ray Tracing Exercise in Minecraft?
First, what'south generally referred to equally real-fourth dimension ray tracing in games is a more advanced arroyo known as path tracing. The general idea between the two is the same, but the math used in path tracing makes for a better final image. For this article, we're just going to stick to "ray tracing," just it'southward worth knowing the term "path tracing" because it comes up repeatedly in modern graphics discussions.
For a deep dive into this engineering science, check out What Is Ray Tracing? & What are Path Tracing and Ray Tracing?
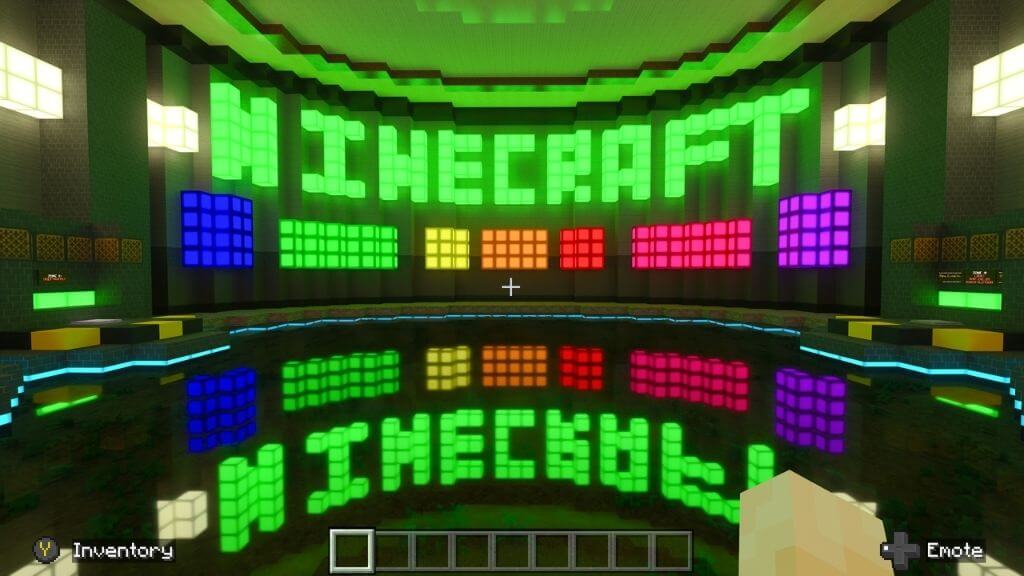
In Minecraft, ray tracing makes Minecraft more photorealistic. Lite is simulated to act as it does in real life. The textures of objects in Minecraft have also been replaced with PBR (Physically-based rendering) materials with ray tracing fashion on. In other words, wood has the optical characteristics of woods. Metallic acts as it should, and then on.
The consequence is a Minecraft world with reflections, shadows, and lighting that looks more similar a existent-globe diorama of Minecraft than a video game. Information technology must exist seen to exist believed, and then feast your eyes on these screenshots.
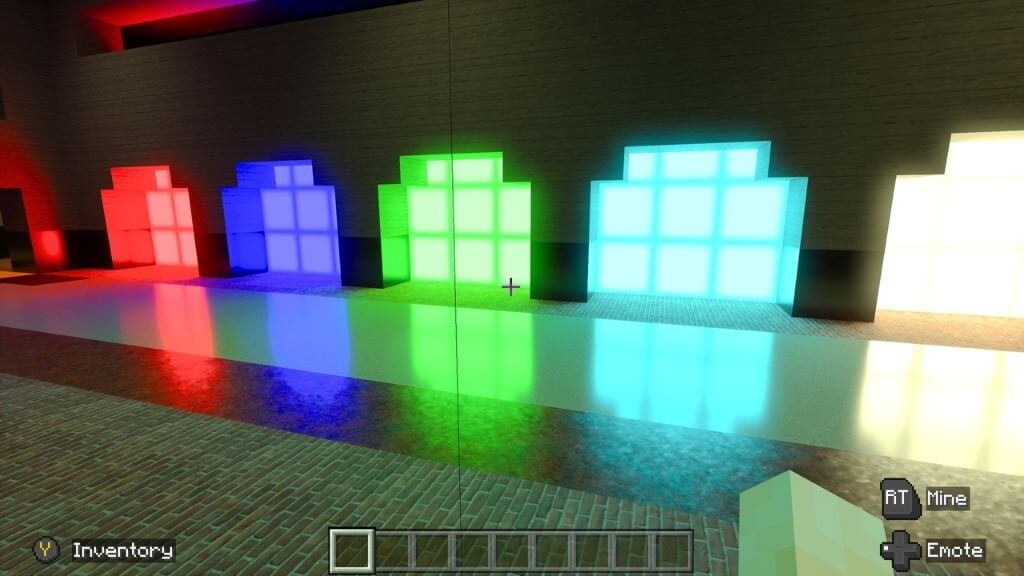
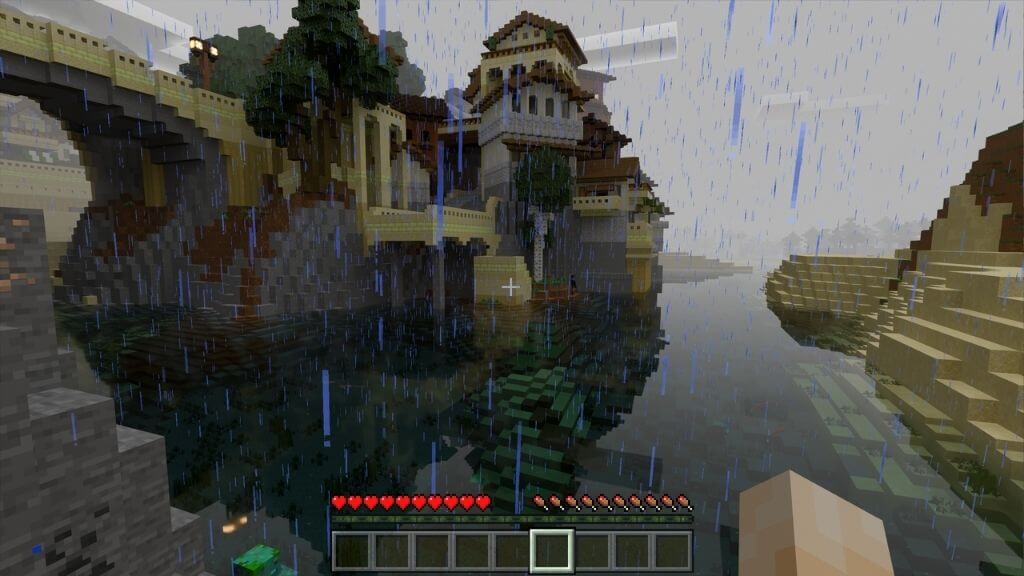
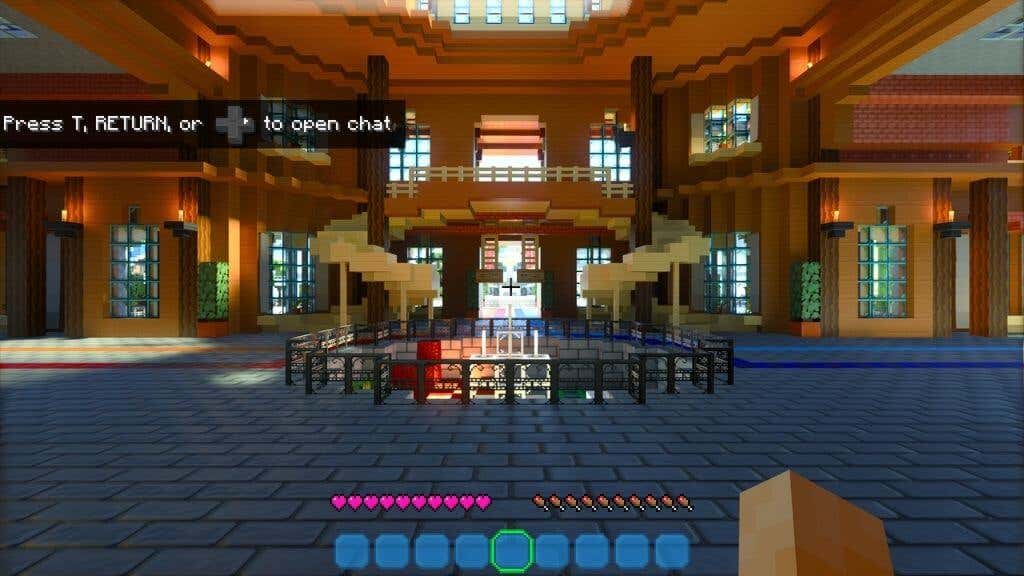
Amazing, correct? If y'all're not bad to enter the earth of ray-traced Minecraft for yourself, allow's offset by checking if your system meets the minimum requirements.
Minecraft Ray Tracing Requirements
To use the ray-tracing mode in Minecraft, y'all demand to meet the following requirements:
- Windows 10 or xi 64-fleck
- Nvidia RTX GPUs or Radeon RX 6000 or improve
- Intel Core i5 equivalent or better
- viii GB RAM (more than recommended)
Only the Bedrock Edition of Minecraft supports ray tracing at the time of writing. This version is as well known as the Windows 10 Edition, but it works just as well on Windows 11. The Coffee version of Minecraft, which is still immensely popular, doesn't back up ray tracing.
While Radeon RX 6000-serial cards support hardware-accelerated ray-tracing, they don't have defended hardware like Nvidia'south RTX cards. If you lot have a depression-end RX 6000 GPU, you may take some performance issues with ray tracing in Minecraft, especially if you crank up the item.
Yous should also notation that the Bedrock Edition of Minecraft is available through Xbox Game Pass for PC or Game Pass Ultimate. If yous're a first-fourth dimension subscriber, you tin can usually get the first month for a dollar to try it out and see if information technology works for you. There's no need to purchase the Bedrock Edition if you take bought the Java Edition in the by unless you don't desire to play through Game Pass.
How to Turn on Ray Tracing in Minecraft
The starting time affair to do is update your GPU drivers to the latest version. It'due south also a good idea to update Windows if there are any awaiting updates. Purchase Minecraft Bedrock Edition in the Microsoft Store App or install it from the Xbox app if you're a Game Pass subscriber.
Once y'all launch the game, you'll accept to sign in with your Microsoft Account. If you're already signed in through Windows, this should happen automatically.
- If y'all open Settings > Video and scroll down the list of settings, you lot'll see Ray Tracing with a toggle switch in the carte du jour. Even so, this pick is grayed out, and you can't turn it on.
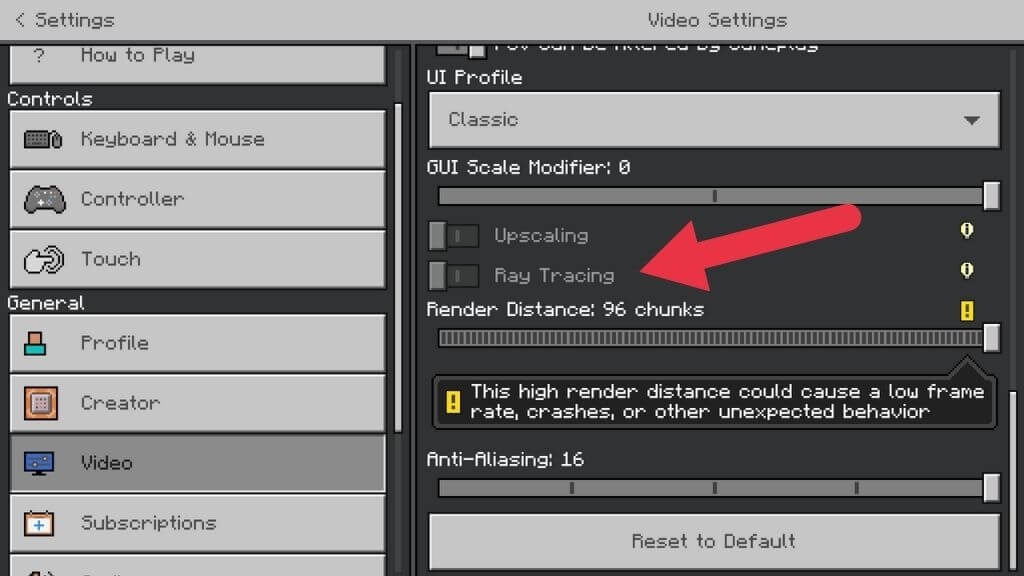
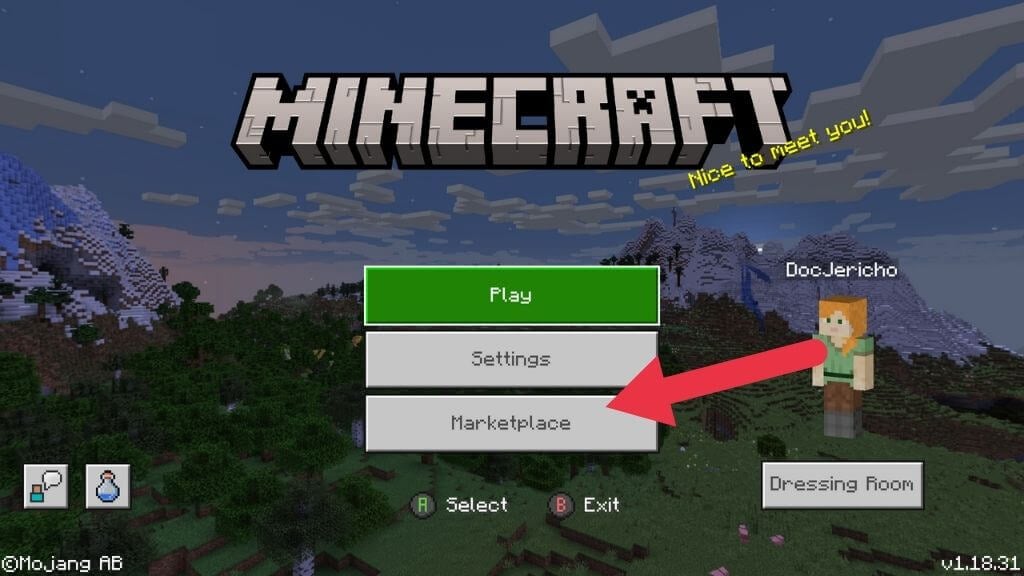
- To enable it, yous'll need a ray-tracing uniform resource pack containing suitable types of textures and lighting settings. So head back to the chief menu and open Market place.
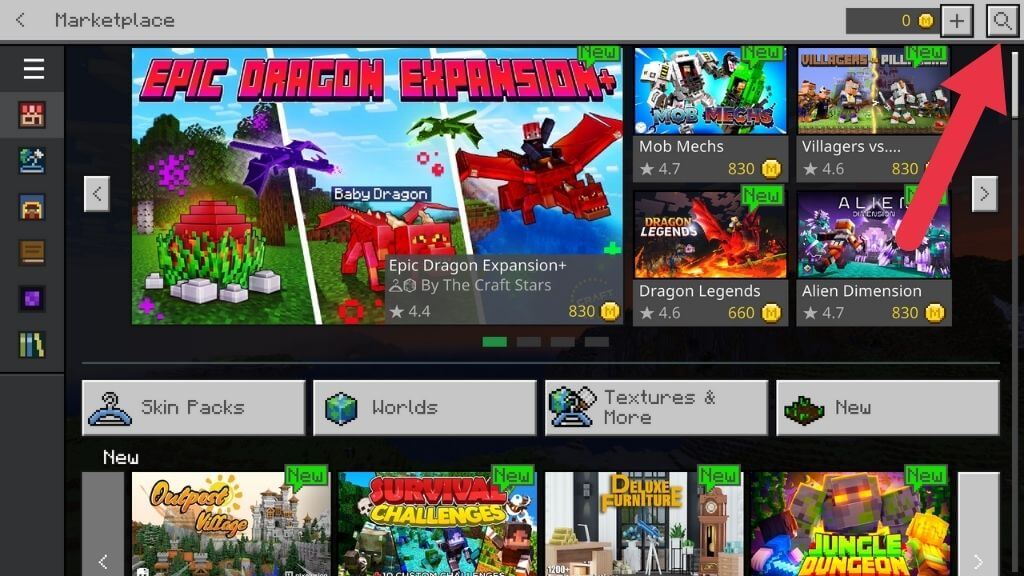
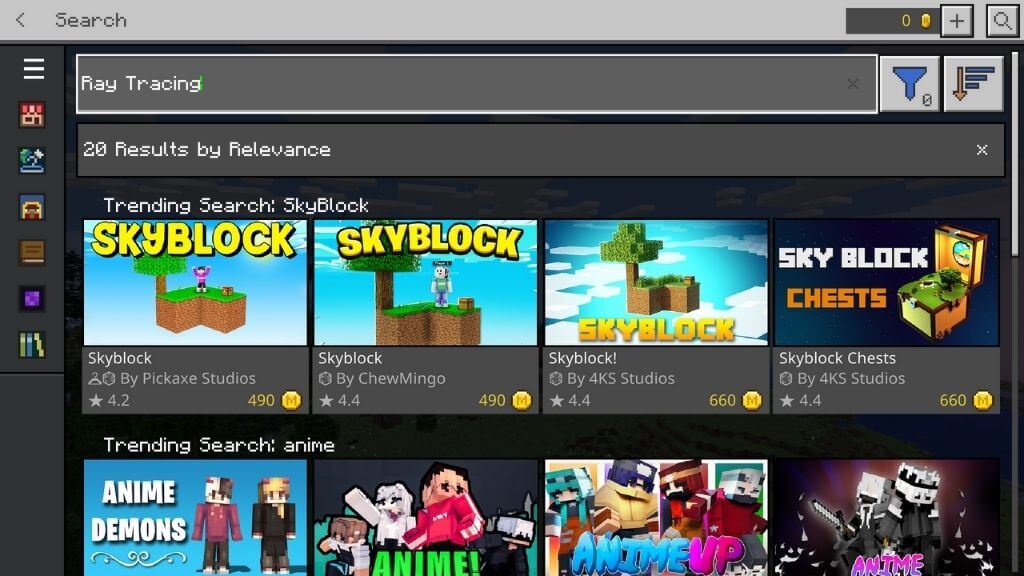
- In the market place, you can observe both paid and gratuitous content. You'll find both kinds of ray-tracing packs likewise. Select the magnifying glass to open the search bar and blazon "ray tracing" where information technology says Enter search here.
- At the top of the results should be several packs created past Nvidia, which makes RTX GPUs. You'll find that the thumbnails have the RTX logo, although third-party packs may not.
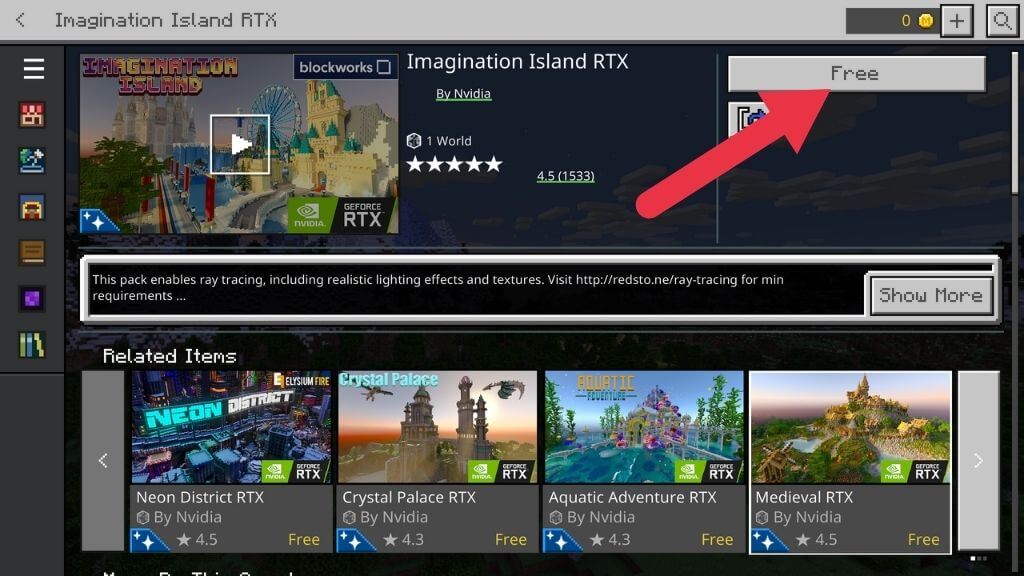
- For this tutorial, we're going with Imagination Island RTX. Select the button that says Gratuitous to claim the pack. Then wait for the purchase to complete.
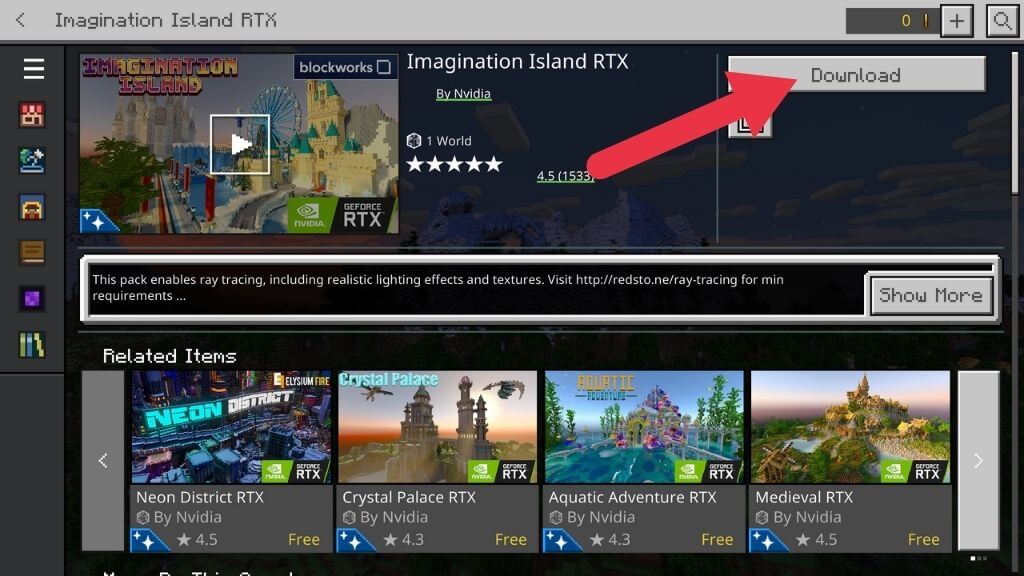
- Adjacent select Download.
- Select Download once again in the next window to ostend.
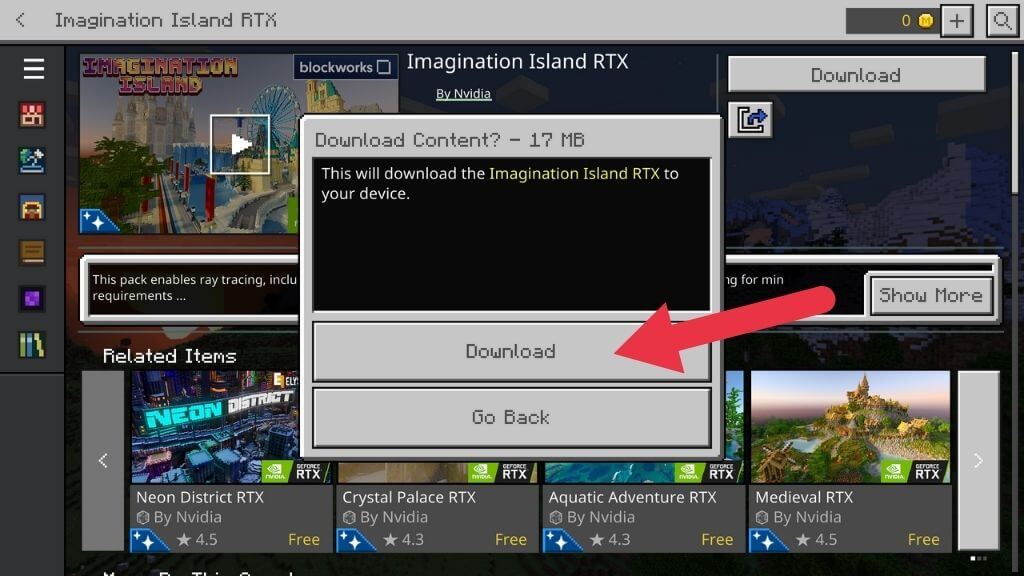
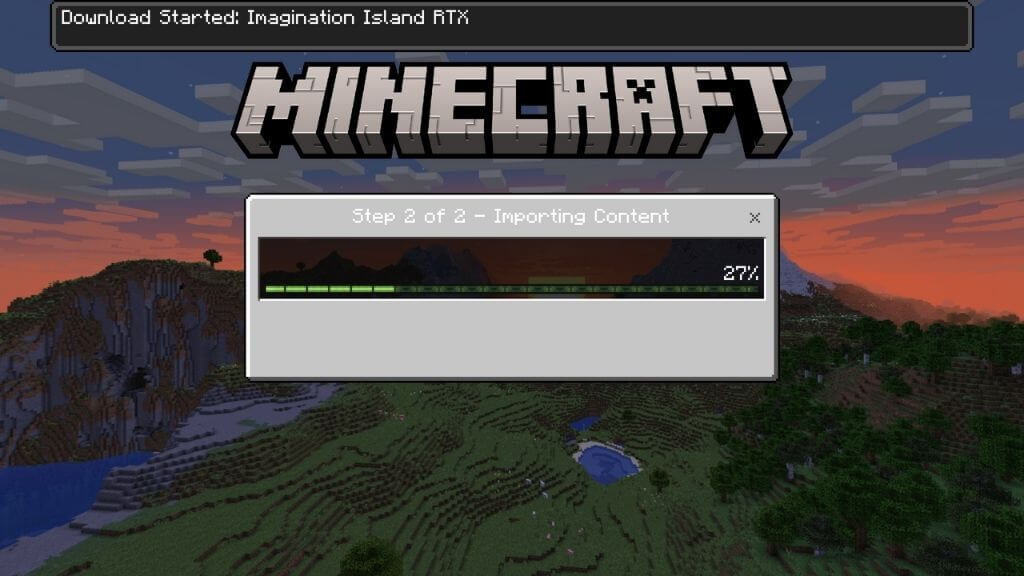
- Wait for the download to complete. You tin't exercise anything else while this happens.
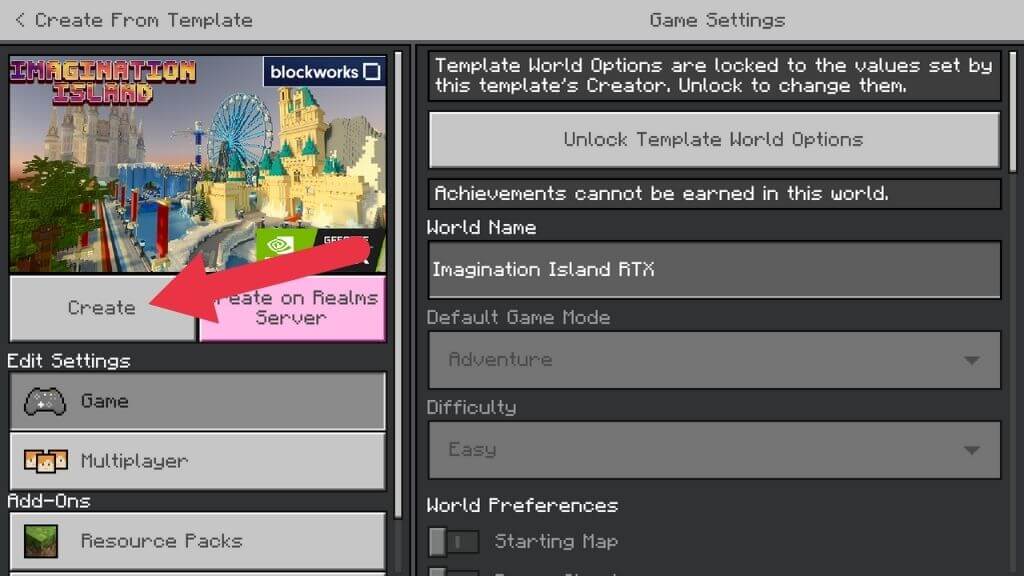
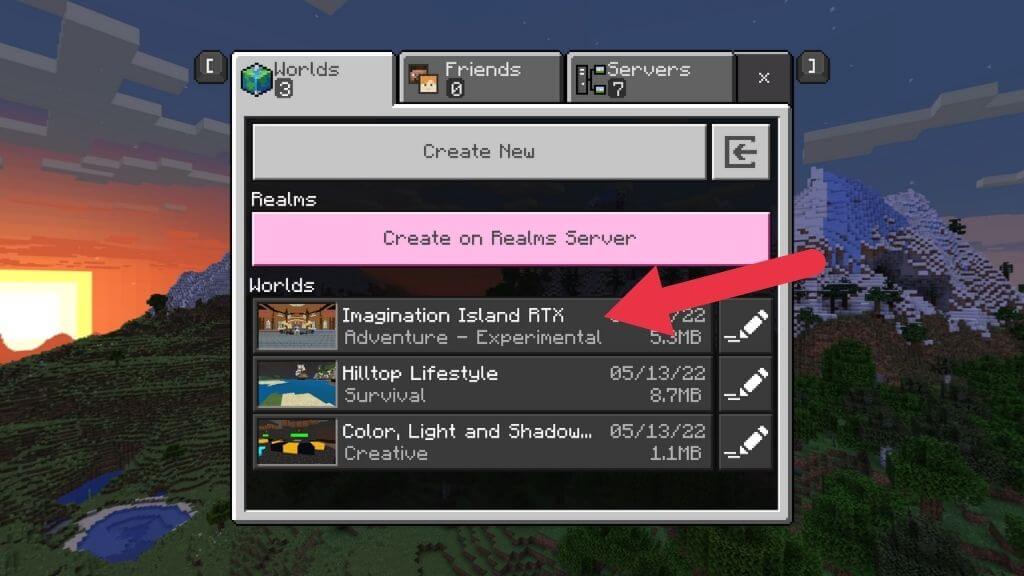
- After the download completes, select Create this World! Then, choose Create or Create on Realms Server if you want to brand an online session.
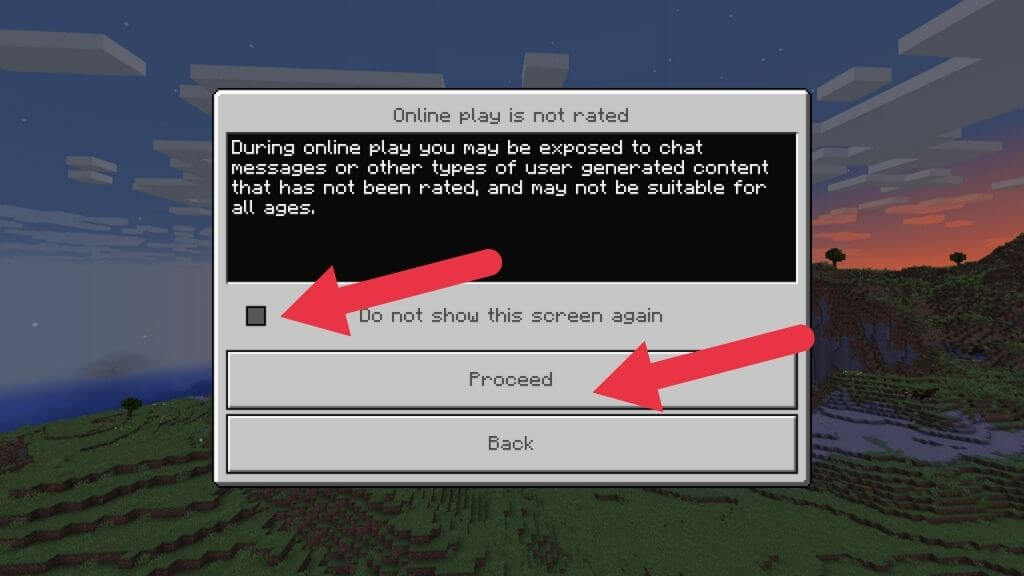
- Look for the resources pack to load. If you get a warning virtually online play not being rated, check Do not show this screen once more and then select Proceed.
Wait for the world generation process to complete, and you should exist spawned in the game.

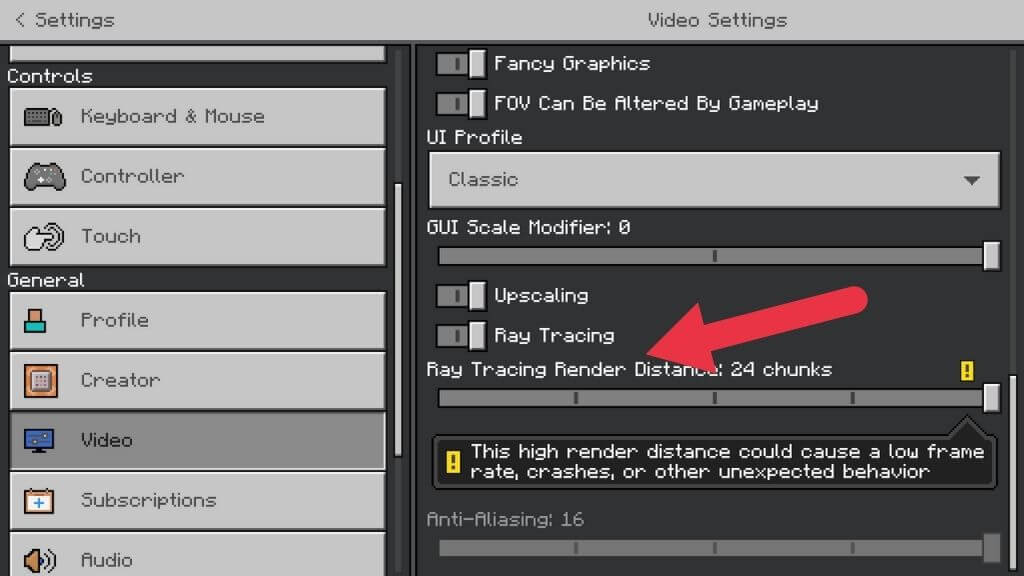
If the game yet looks similar regular Minecraft, go back to the main menu. Then select Settings > Video and toggle the Ray Tracing switch to the on position. Your screen might flash briefly as the game world is re-rendered.
Things should now wait dramatically different. Welcome to the world of ray-traced Minecraft!
If y'all desire to return to a ray-traced world, all you lot have to practice is select New Game from the main carte du jour and and then choose an RTX world from the listing.
Adjusting Ray Tracing Settings
Unlike in games such as Cyberpunk 2077, there's not much you can adjust to ray tracing settings in Minecraft. The but things you have control over are Ray Tracing Render Altitude and Upscaling.
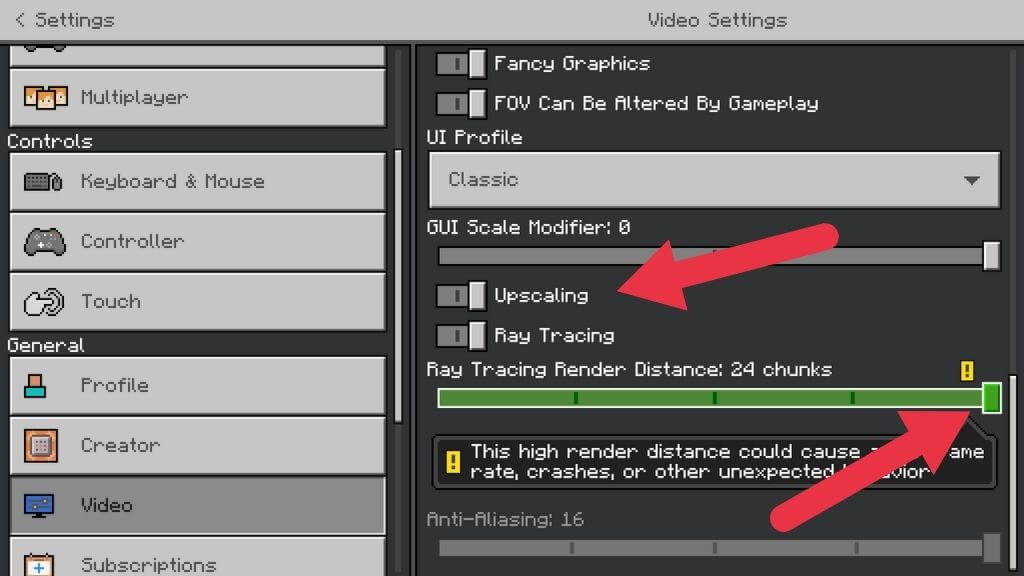
Every bit the proper noun suggests, return distance determines how far into the distance rays are traced. Beyond the render distance yous ready, ray tracing isn't applied. And then afar objects may not be reflected in shiny surfaces close to you. The higher this setting, the more spectacular the graphics will await, specially in outdoor areas lit by the sun.
Eight "chunks" of distance are the default setting and the minimum. Nosotros suggest pushing this upwards one notch at a time until the game is no longer playable or becomes unstable. Don't worry. You can't break anything. The worst that tin can happen is that the game crashes, and y'all'll know how far you lot can push your organisation.
Upscaling just means that the game is rendered below your screen'southward native resolution then scaled up. This is a peachy manner to improve performance, and Minecraft scales well thanks to its chunky nature, so toggle this on if the frame charge per unit is depression.
Ray Tracing for Minecraft on Xbox Series 10
Although Microsoft has demonstrated a ray-traced version of Minecraft running on the Xbox Serial X, every bit we write this, there is no indication that this will become an official feature. If yous want ray-traced Minecraft, the only place is a PC using the Bedrock Edition.
No Ray-Tracing GPU? Try Alternative Shaders and OptiFine
Not anybody is in the position to purchase the latest GPU, or perhaps y'all prefer the Java Edition of Minecraft, which lacks the microtransactions and Windows 10 and xi lock-ins.
While you can't go true ray tracing, there are many alternative shader packs you can download to alter the game's look dramatically.
"Shaders" refer to pixel shaders, which are special graphics programs that help determine the exact color and brightness value that every pixel in the game should accept. There are shaders to brand things look wet and shaders to make things look lit or in shadow. There are shaders for annihilation you want to reach on a figurer screen.
While traditional shader-based graphics don't look as good as ray tracing, you can go pretty close! At that place are many options, and this isn't a guide for alternative shaders in Minecraft. However, an first-class place to start is with alternate shaders and Optifine. YouTuber Daniel Plays has an excellent tutorial that walks players through this moderately technical process.
Do non share my Personal Information.

How To Enable Ray Tracing In Minecraft Java,
Source: https://www.online-tech-tips.com/gaming/how-to-turn-on-ray-tracing-in-minecraft/
Posted by: tillmanortherce.blogspot.com
0 Response to "How To Enable Ray Tracing In Minecraft Java"
Post a Comment